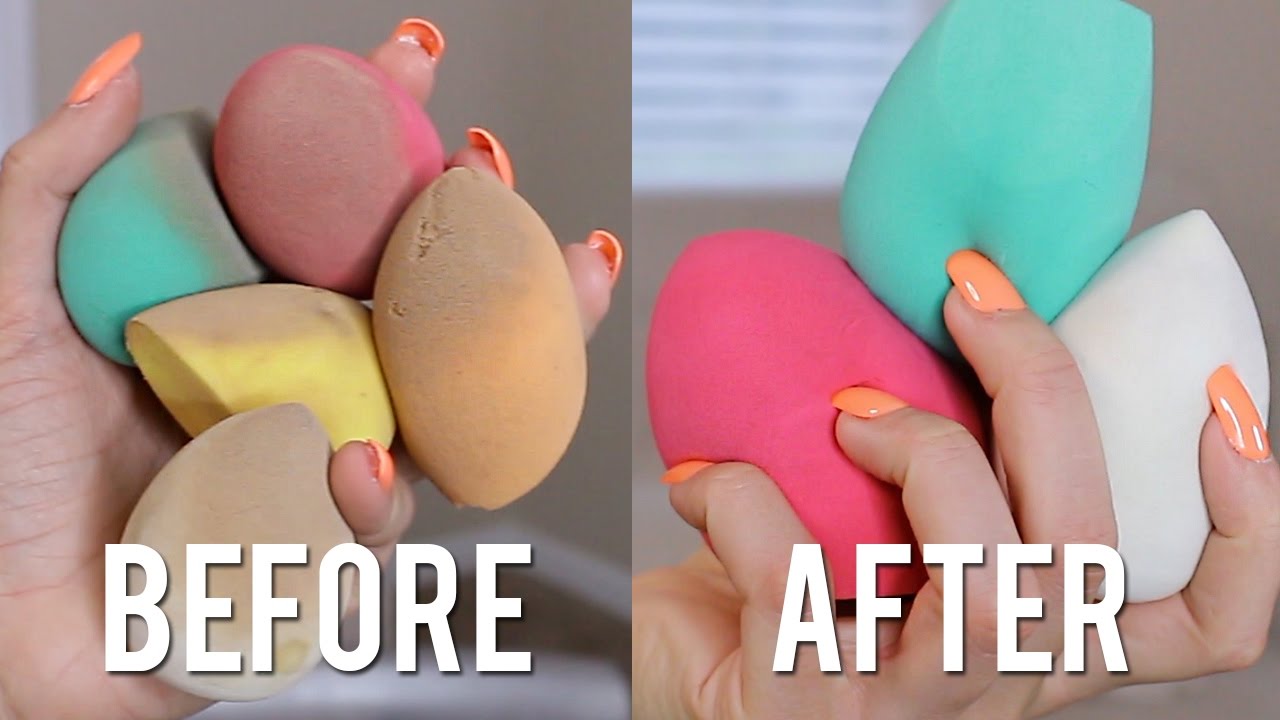
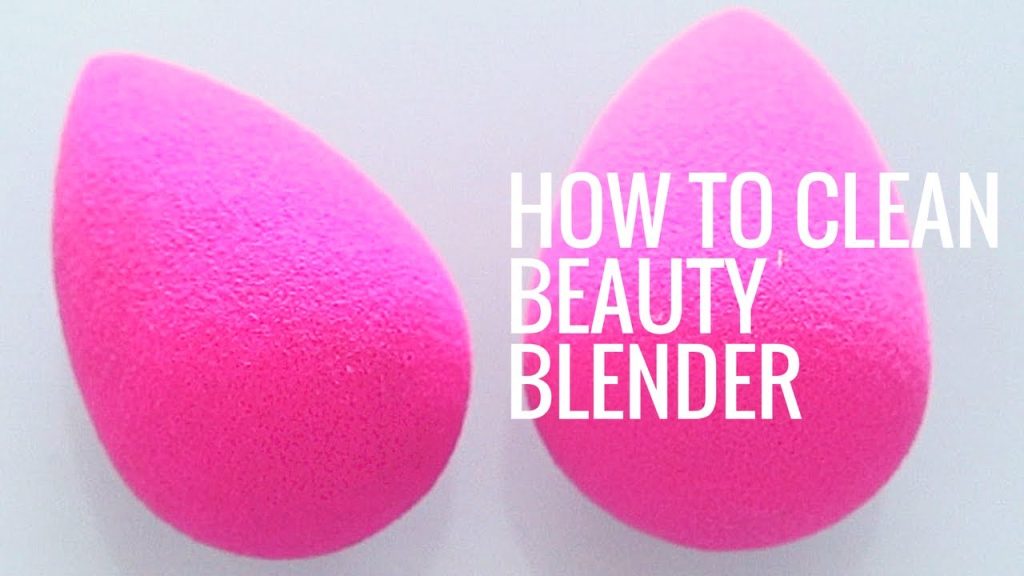
We have spent months finding the best products we can share to ease your life. You might have bought a beauty blender, but do you know how to clean beauty blender at your home as professionals do? You might have your beauty blender handy, but it’s getting dirtier as you use it frequently, and of course, you need to give it a good cleansing process to make it last longer. A beauty blender looks great after using it first, but it becomes messy and streaks old eyeliners.
Table of Contents
Why You Need To Clean Beauty Blender:
Do you know that when you use sponges, they start growing bacteria? It is the fundamental nature of bacteria to grow, and if you keep the sponges wet for a long time, it increases bacteria’s growth. When you use these sponges on your face, the bacteria transfer to your face, and you might have a chances of some infection. That’s why it’s essential to know how to clean the beauty blender at your home professionally.
Certain things must be considered before using a beauty blender at your home.
- Once you use a beauty blender, clean it and make it bacteria free.
- Do not keep the beauty blender wet and dirty.
- The sponges should be neat and dry.
- Please don’t use the same sponges on your face without passing them through the cleansing process.
- Sensitive or acne-prone skin should be protected against sponges.
These points clearly say that cleaning sponges daily or after use is essential. The reason is that using any makeup kits daily will make your skin dirty, have dead skin, remove natural oil, expose you to pollution, and grow bacteria. That’s why using a clean makeup kit is a must.
Best Ways To Clean Your Beauty Blender:
Don’t you know how to clean beauty blender at your home? Don’t worry because we have explained it below. You can use any dish soap, gentle bar soap, or beauty blender’s cleansing product. They give the best results that make it disinfected clearly. Using these products will remove stains and won’t damage your sponges.
You should use beauty blender cleansers because they remove 99.7% bacteria and harmful germs. It protects your beauty blender against these micro lives for at least 24 hours.
Beauty Blender Cleansing Solid:
A cleansing solid is specifically designed for cleaning your beauty blender thoroughly. Here is the step-by-step process to do it professionally.
- Wet the sponges before and after use. Rub them against your soap or bar soap, but take care of their stained portions.
- Once it has soap all over it, rub it with your fingers and squeeze it under running water in the wash basin.
- Wash it one more time, and it will be cleaned thoroughly.
- Use a dry cloth and softly dry it out. After that, let it be in the air and air dries it.
Use Dish Washing Soap To Clean Beauty Blender:
If you have ever visited a professional beauty parlor, you might have come across a dishwashing soap because they use it to clean beauty blenders. This soap is soft and gentle. So, they are no issue with shredding the sponges. The following are steps to clean the beauty blender with dishwashing soap.
- Take a dime-sized soap in your hand, and apply it over the sponges. Squeeze the soap to use the soap thoroughly.
- Squeeze gently, massage your beauty blender for at least a minute, and squeeze it with your fingers.
- Soak it in the water for at least five minutes.
- After that, you will see that water becomes apparent when you squeeze and repeat it.
- The beauty blender is now cleaned; you need to use a dry towel and dry it gently.
- Also, air dries it for at least five to ten minutes to remove excess moisture and dry it thoroughly.
- Be careful while using dishwashing soap for cleaning beauty blender even if you understand how to clean beauty blender at home because you can not do it frequently.
Is It Good To Use Microwave To Clean Beauty Blender?
While looking for the best ways to clean beauty blenders at your home, we found something strange that people have been doing since 2018. We found a way where people used microwaving their beauty blenders because they saw this cleansing hack on Twitter. Most people started using it, and this type of video went viral within minutes. Does it work? Should you do it with your beauty blender? Let’s figure that out.
- Of course, it’s easy to use a beauty blender, put it into the oven, and microwave it.
- There is no need to use any solid cleansing product or using soap.
- Using a microwave to disinfect your beauty blender gives it to heat, and high temperatures kill bacteria, viruses, and germs.
- However, it works, but you shouldn’t do it by keeping the dry sponges in the microwave oven because it will permanently damage them.
- It would be best to submerge sponges in water and then heat them to keep them functional and soft.
If you follow the beauty tips and cleansing hacks blindly, you will end up with damaged sponges, and there won’t be anything usable.
When It’s Time To Change Beauty Blender?
After understanding how to clean beauty blender at your home, many people keep doing it repeatedly, but that’s not what’s best for you and your beauty blender. Consider the following points.
If you are using a beauty blender every day, you should replace it within three months with a new beauty blender because the old one won’t be functional anymore.
If you don’t use it daily and might occasionally use your beauty blender, you should replace your beauty blender every six months.
How To Know If It’s Time To Replace Beauty Blender?
Sometimes, you might use it for several consecutive days, and sometimes you have only frequent uses. So, it’s a must you should know when it is time to replace your beauty blender. There are sure signs of wasted products. Change your beauty blender if you notice these signs or any of these.
- You can’t thoroughly wash out lingering.
- There are tears or tips visible.
- There is no bounce back ability of your sponges, and you can’t feel its sponginess. It cannot jump back to its original size after being squeezed.
Be Careful While Repeatedly Using Beauty Blender:
Skin infection is widespread nowadays, and there is no way to protect your skin against several harmful things like UV rays, heat, sunlight, pollution, chemical expelled in the atmosphere, and more. Also, suppose you don’t disinfect products or makeups you use over your face. In that case, there are high chances of developing skin rashes, scars, bacteria, skin allergies, skin health issues, and even skin cancer. That’s why you need to know how to clean beauty blender at your home—using a beauty blender before cleansing will transfer bacteria to your facial skin. It is the beginning of diseases and skin issues.

Before Using Beauty Blender:
The most important thing to consider is to understand that you must wash the beauty blender when you want to use it. Of course, it’s also great to keep it back in its place after using and washing. Hence, while applying makeup, wash it before and after. It means you will use only disinfected makeup kits that won’t affect the skin texture, quality, and sensitivity. Also, disinfected beauty blender won’t cause bacteria growth, and your face and skin will be protected against it.
Wrapping Up:
This article discussed three ways to clean beauty blender in your home professionally. All three methods are used for specific purposes. We also discuss when and why you need to replace an old beauty blender with a new one. We hope you understood and learned how to clean beauty blender at your home without special skills or experience. Do you want to know anything else about beauty blenders, beauty products, cleansing products, and makeup kits? Let us know. Share this information with girls and women that use beauty blenders often but don’t know what to do before and after using it.